Quick Start
From an empty server to a working AI SaaS and a Flutter app build.
The Fast Path
Who does what? Steps 1, 3 and 5 below need someone with server access (upload, database, cron, worker) or a Flutter developer (the app). Everything else, including branding, AI keys, payment gateways, plans, mail and push, is done later in the browser in the admin panel without code. Full table: Start Here: Who Does What.
About 30 minutes on a VPS with SSH, PHP 8.2+ and MySQL 8. Every step links to the detailed guide.
1. Upload & install
Upload the web app, point the domain at public/, open the domain and finish the 4-step installer.
What Is in the Package
| Folder | Contents |
|---|---|
Main_Files/WebSourceCode | The Laravel 12 web app: SaaS admin, company workspace, landing page and blog, REST API v1, installer, migrations, seeders and the automated test suite |
Main_Files/AppSourceCode | The Flutter app (Android and iOS projects of one codebase), with its README.md |
documentation | This documentation: Quick Start, Common Setup, Web Platform and Mobile App pages |
Plain, readable PHP and Dart: no encoded files and no licence server. The download does not include vendor/: run composer install --no-dev --optimize-autoloader once (on your computer if your host has no SSH, then upload the vendor/ folder). The compiled CSS/JS ship in public/assets-compiled, so Node.js is not needed on the server.
1. Install the Web App
Upload the files
For example to
/var/www/omnigenix, and point the domain’s document root at/var/www/omnigenix/public. Then runcomposer install --no-dev --optimize-autoloaderin that folder (or upload avendor/folder built on your computer).Make folders writable
chown -R www-data:www-data storage bootstrap/cache public/uploadsandchmod -R 775 storage bootstrap/cache public/uploads.Create an empty database
Charset
utf8mb4, collationutf8mb4_unicode_ci, and a user with all privileges on it.Open your domain
Every request redirects to
/install: Requirements → Database and site → Install → Super Admin. The installer then locks itself (storage/app/installed).
CREATE DATABASE omnigenix CHARACTER SET utf8mb4 COLLATE utf8mb4_unicode_ci;
CREATE USER 'omnigenix'@'localhost' IDENTIFIED BY 'a-strong-password';
GRANT ALL PRIVILEGES ON omnigenix.* TO 'omnigenix'@'localhost';
Shared hosting with cPanel and no SSH? Follow cPanel Install (No SSH). Prefer the command line? See Command-Line Install. Never run plain php artisan db:seed on a live site; use --class=CoreSeeder.
2. First Run
Sign in
Open
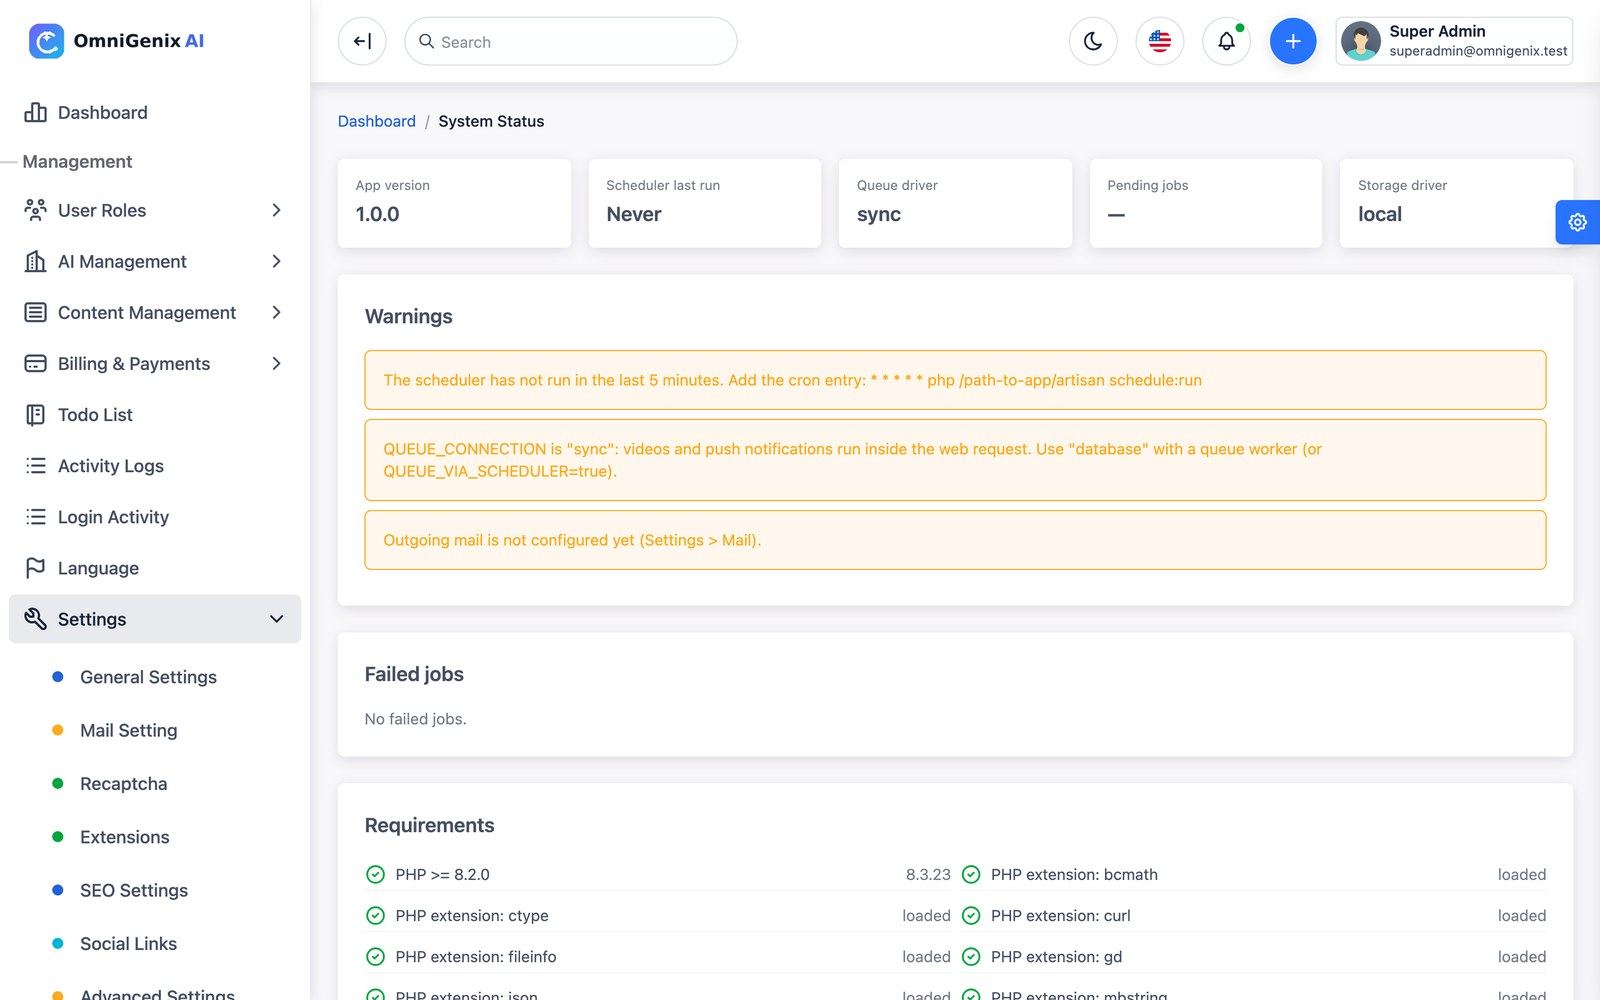
/loginwith the Super Admin you created in the installer.System Status
Settings → System Status lists what still needs attention (cron, queue, mail).
Brand it
Settings → General Settings: site name, light and dark logo, favicon, currency, default language. Landing page & white-label: colours and hero text.
Review the plans
Free, Starter, Pro and Business are seeded. Edit prices, credits and limits; keep one active plan marked Default.
3. Cron & Queue
Add one cron entry for the web-server user (crontab -u www-data -e):
* * * * * cd /var/www/omnigenix && php artisan schedule:run >> /dev/null 2>&1
Set QUEUE_CONNECTION=database in .env and keep a worker running with Supervisor (full config in Common Setup). On shared hosting without a long-running process set QUEUE_VIA_SCHEDULER=true instead.
php /var/www/omnigenix/artisan queue:work --sleep=3 --tries=3 --timeout=960 --max-time=3600
4. AI & Payments
Mail
Settings → Mail Setting, then Send test mail.
AI provider
AI Management → AI Providers → Add (for example the
openaidriver with your own key) → Test connection. A fresh install has no working AI provider.AI models
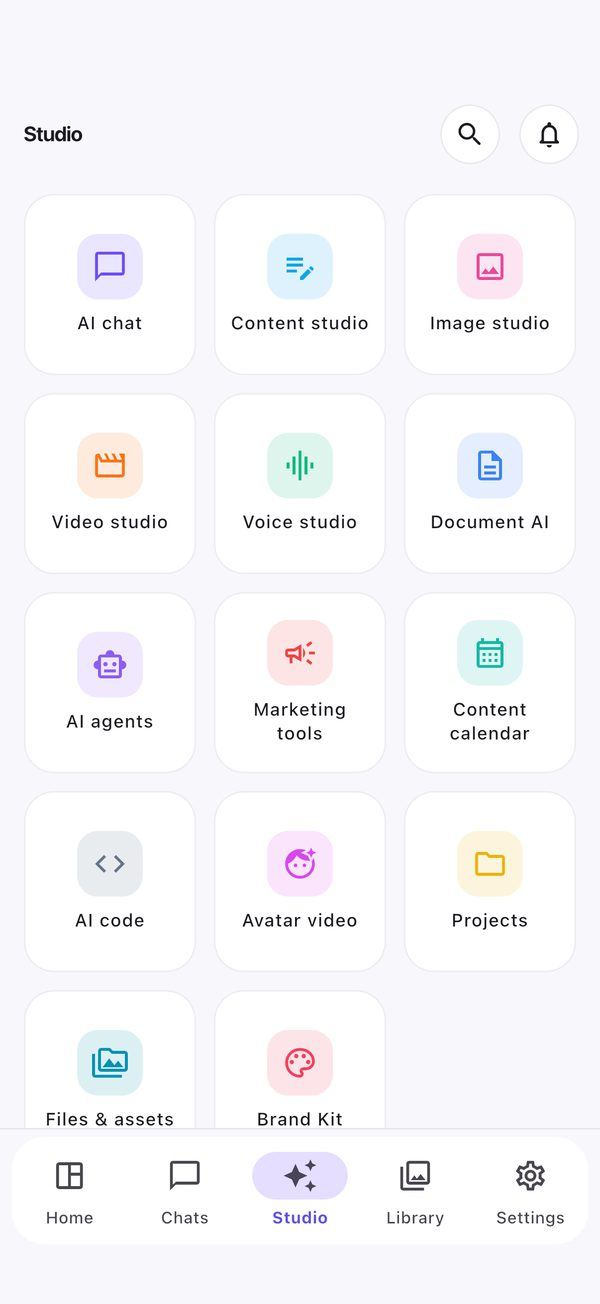
AI Management → AI Models → Add: one model per capability you sell (text, image, voice, transcription, embedding, video), each with a credit rate and provider cost.
Payment gateway
Billing & Payments → Payment Gateways: add Stripe, PayPal, Razorpay or Mollie with sandbox keys (or Manual for bank transfer) and register the webhook URL at the gateway, e.g.
https://YOUR-DOMAIN/webhooks/stripe(all URLs and events: Payment Gateways).Test
Register a test company, buy a plan and a top-up with a test card, and run one generation in each studio.
Details: AI Providers & Models, Payment Gateways & Webhooks.
5. Build the App
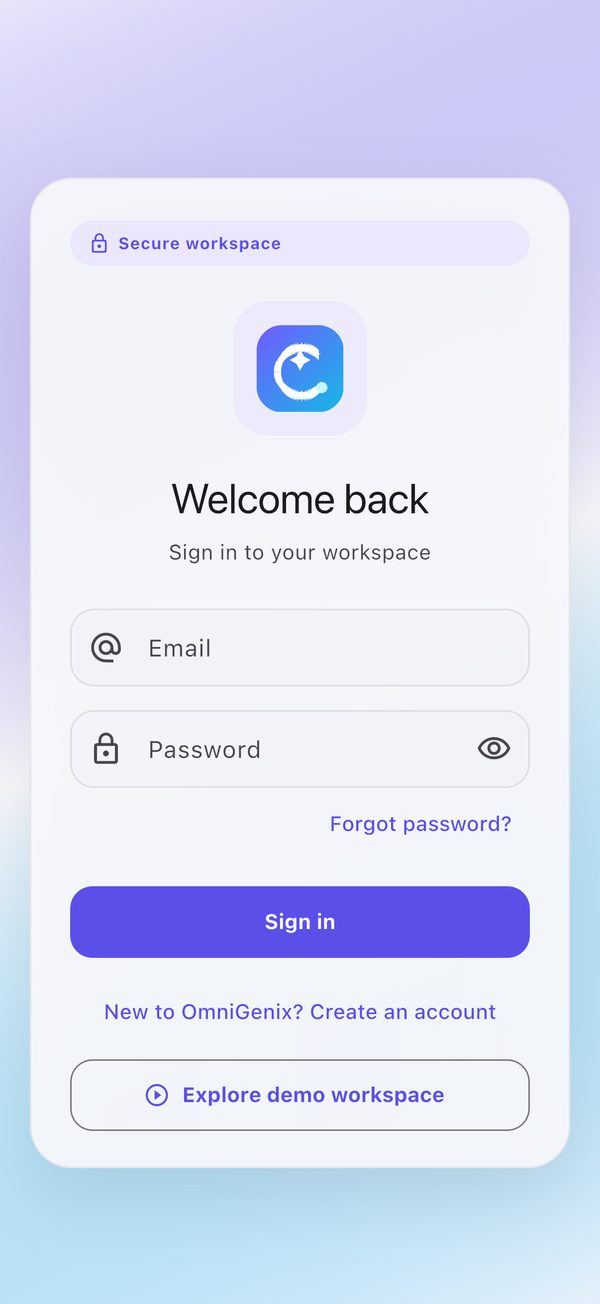
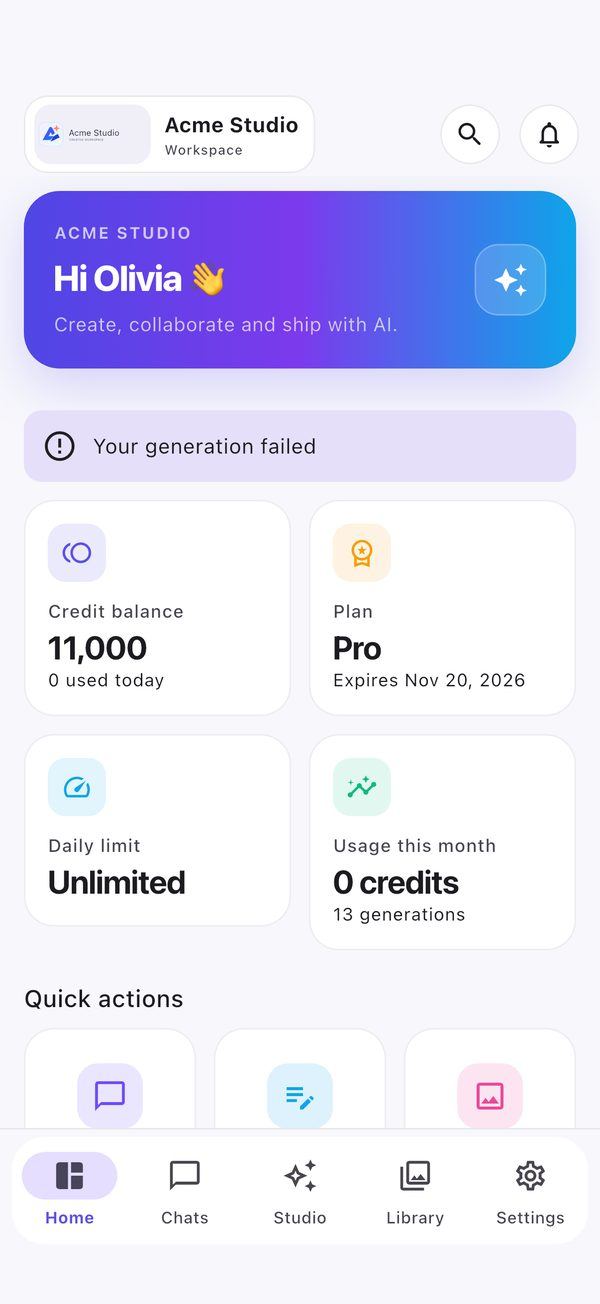
The Flutter app is in Main_Files/AppSourceCode. It needs only the URL of your web install:
flutter pub get
flutter gen-l10n
flutter run --dart-define=API_BASE_URL=https://your-domain.com
Before publishing, change the package/bundle id (com.omnigenix.app), the app name and icons, add your Firebase files for push, and sign the release build with your own keystore and Apple team. Everything is in Mobile App.
6. Go-Live Checklist
Required versus optional integrations are explained in Ready to Go Live?.
APP_ENV=production,APP_DEBUG=false,APP_URLis your publichttps://URL.- HTTPS with a valid certificate;
SESSION_SECURE_COOKIE=true. - Cron entry added; System Status shows the scheduler heartbeat.
- Queue worker running (or
QUEUE_VIA_SCHEDULER=true). - Mail test received; SPF/DKIM set for the sending domain.
- At least one AI provider and models with credit rates; Test connection passes.
- Payment gateway webhooks registered with live signing secrets after a sandbox test.
- Demo accounts removed (
*@acme.test,*@omnigenix.test) or installed without the sample company. - Strong, unique passwords on every admin account. Turn on two-factor authentication for each of them (user menu → Change Password → Two-factor authentication, see Web Platform → Security).
- Public sign-up: leave it on, or switch it off in Settings → Signup & referrals → Allow new visitors to sign up (details).
- Terms & Conditions and Privacy Policy pages edited for your business.
- Nightly database and file backups copied off the server;
APP_KEYstored safely.
Ongoing Costs
The item price covers the source code. Running a SaaS has ongoing costs (full table: Third-Party Services & Costs) that you pay to the providers directly: hosting and domain, e-mail delivery (SMTP), AI provider usage (OpenAI, Replicate, ElevenLabs, Runway, Luma, Kling), payment gateway fees, telephony minutes and numbers (Twilio/Plivo), optional S3-compatible storage, Firebase, social network developer apps, and Apple Developer / Google Play Console accounts for the app. You set your own prices and credit rates so that customers cover these costs; Usage & margin shows the margin per provider, model and company.
Where Next
Common Setup
Nginx/Apache, HTTPS, permissions, Supervisor, Reverb, backups and the .env reference.
Open →Web Platform
Every admin and workspace screen, credits, languages, extensions, updating and support.
Open →Mobile App
Flutter setup, Firebase, deep links, rebranding, release builds and store submission.
Open →